I KNOW WHAT I DID LAST SUMMER
Many people go through their lives and never build a shed. I am not one of those people.
I tragically had to give up my beloved DDR Trailer Trash garden, but early this summer I got another garden by a stroke of luck. It has a perfectly normal little house on it, in a bit of disrepair, but still quite bourgeois even, with fancy things like electricity and running cold water. The garden is big and has lots of potential, and it’s right next to a small river.
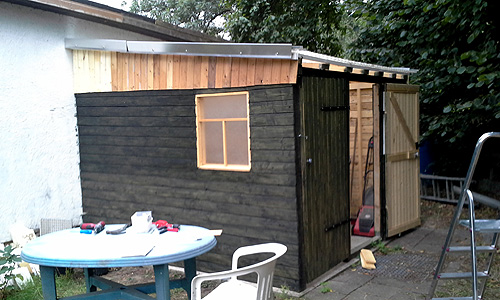
This first summer and autumn I’ve been planting lots of new trees and shrubs and fighting the extreme heat and drought. And also I built a shed with a workshop/toolshed and a compost toilet, which is what this post is all about!
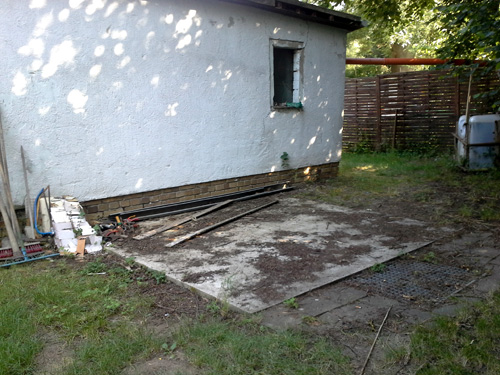
Behind the house there was already a concrete foundation, probably from an old shed that was torn down at some point. There was also a stash of used lumber, and other trash laying around, such as windows and rain gutters. So I didn’t have to make a new foundation, and I only had to buy part of the building materials.
I’d done some repairs and built some smaller things, but I’d never built anything near a whole shed before. Basically I learned everything from the Internet, reading many different, good and bad, tutorials, while deciding on a design. (Special thanks to theoblackadder for his instructables, showing how to build pretty advanced stuff all on your own.)
Since I didn’t have electricity in my old garden, I’d only used hand powered tools before, but now I got an electric drill/screwdriver, which was a very good thing to have for this project, where thousands of screws were drilled! I almost killed myself with the sawing, though.
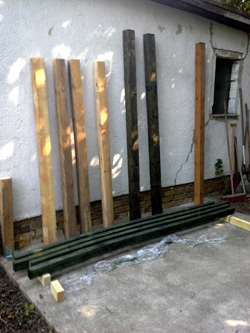
For starters, I sawed the huge 10×10 cm corner posts and the bottom and top beams for the side walls to the correct length. This is where I almost killed myself, sawing seven pieces of that dense, thick wood with a mere handsaw. One day I almost gave up, but then my neighbour invited me for coffee, and soon after getting all jacked up on his coffee I had somehow finished all the beams. Then I painted them.
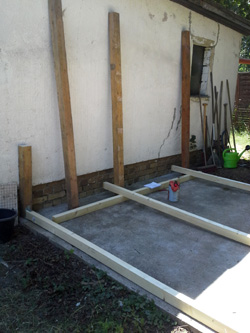
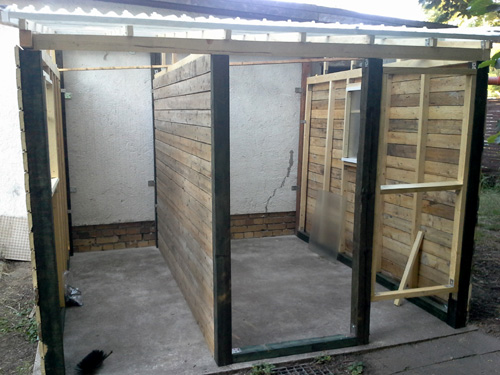
Next I put the frame together. You can either finish the walls one by one and then raise them and attach them to each other, or you can build the frame first like this.
First I attached the three corner posts to the wall of the house, then I added the beams along the floors, then the three corner posts at the front, then the upper beams, and finally the fourth corner post for the door of the workshop. Always taking care that they were level. Since I was building on my own, I fastened the posts with diagonal boards.
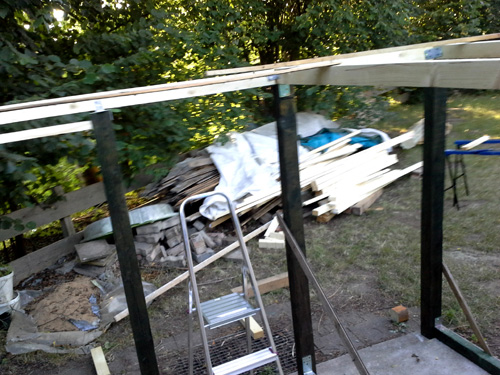
Slightly smudged view from above
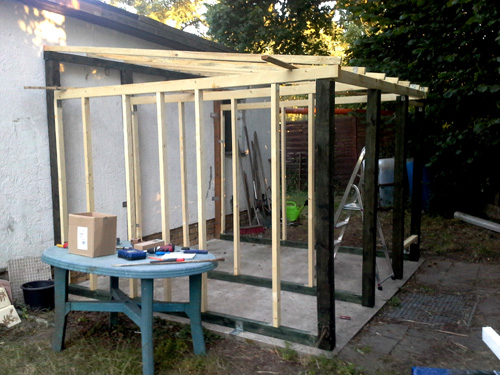
Then came the sticks in the walls, their spacing adjusted to the future windows. And the rafters.
Painting the battens – the transparent roofing supposedly discolours if you don’t paint the battens white.
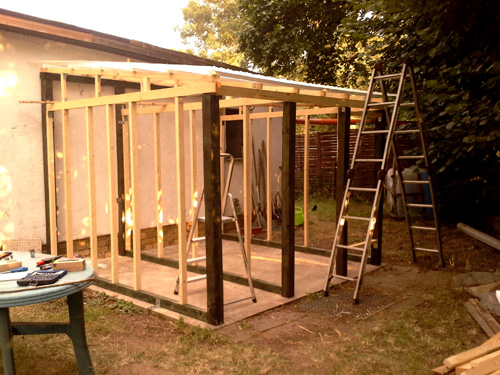
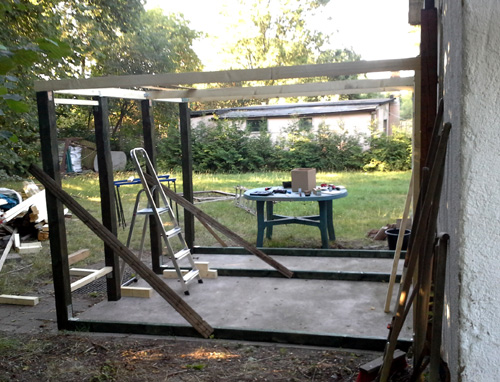
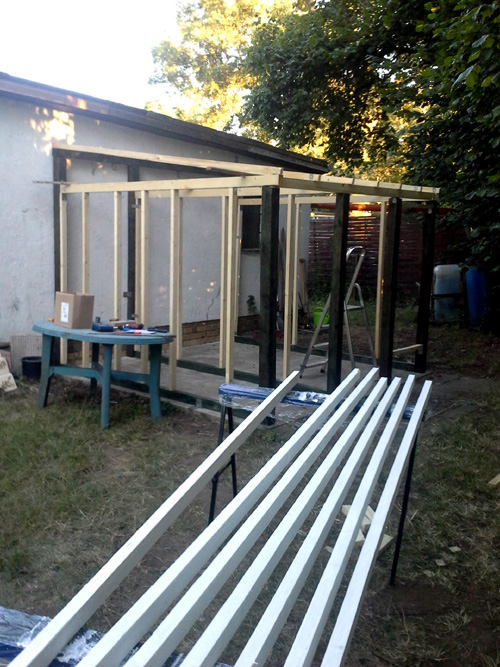
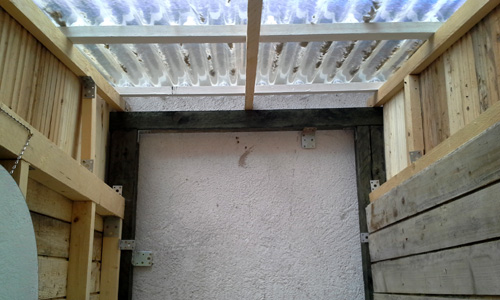
I added some sticks to the upper parts of the walls under the rafters. Then I put up the roof, a transparent PVC sheet roof, in one 3×3 meter piece so it was fairly easy. This was the part I’d had the most doubts about, but I managed it, all on my own. I had to climb on the roof of the house to reach the upper part. There’s just an area of a bit less than one square meter in the middle, where I couldn’t reach to fasten the roof to the battens. Phew!
The transparent roof allows for plenty of daylight inside, and casts a light rainbow coloured shade. :3 The shed is on the northwest side of the house, and doesn’t get much direct sunlight, so there is no extreme greenhouse effect heat, which could otherwise be a big disadvantage of transparent roofing.
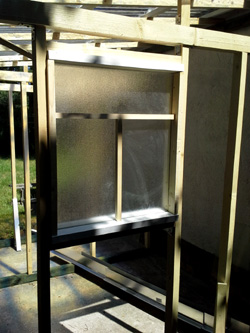
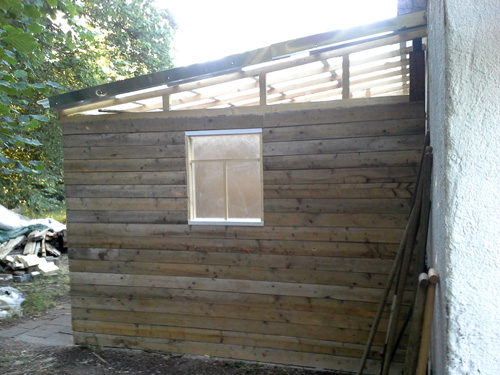
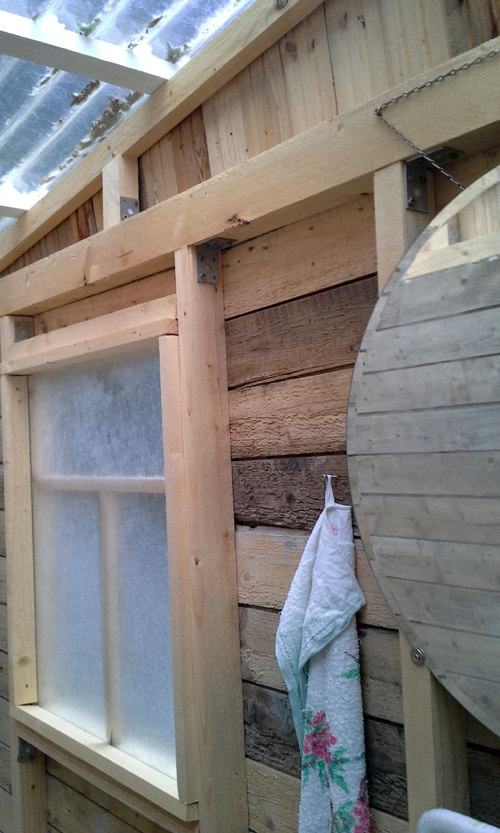
After the roof I made the two side windows. There were three window panes with milky glass laying around, so milky glass it was. For the toilet it’s perfect, and I guess it’s okay for the workshop (I don’t have to put up curtains in case of burglars).

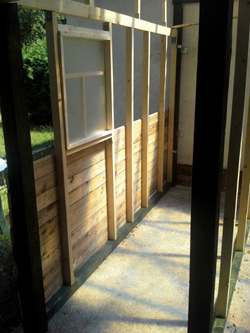
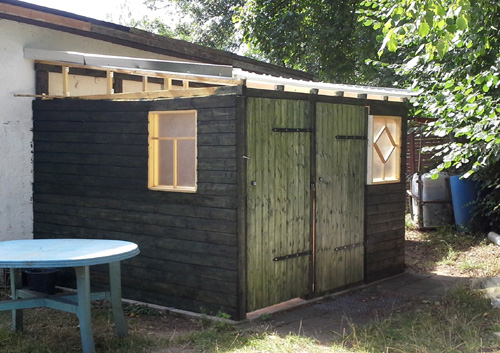
I put up aluminium siding for the roof, and then it was time for the walls. The walls are also made of old tongue-and-groove lumber that was laying around. It was a bit moldy :-s so I had to kill the mold (still so much cheaper than buying all new lumber). It’s not a space I’ll be hanging around in all the time, so I guess it’s not a big deal even if there might be some residual mold …
Both walls of the toilet are up!
All three side walls are up. I got really lucky and ten wall boards fit exactly under the windows, so I didn’t have to form fit them, just cut off the tongue under the window. (That name, tongue-and-groove, makes everything sound so creepy … :-s)
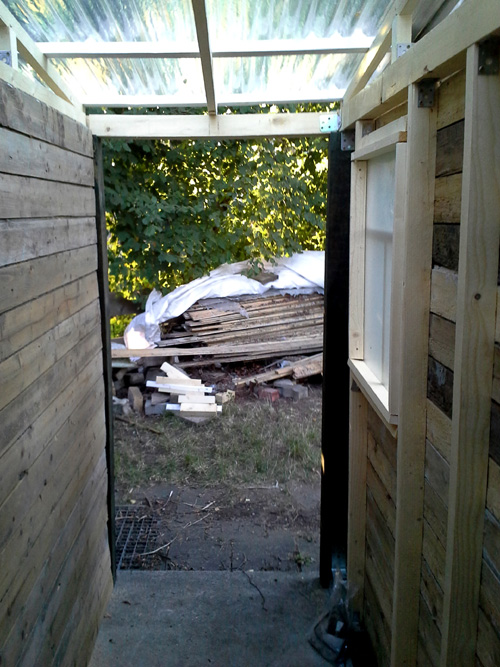
I also added a threshold to the workshop, not least because there was a screw hole in the foundation right there, that I could use to fasten the frame to the foundation at one more point. I left the toilet without threshold for ease of cleaning and ventilation.
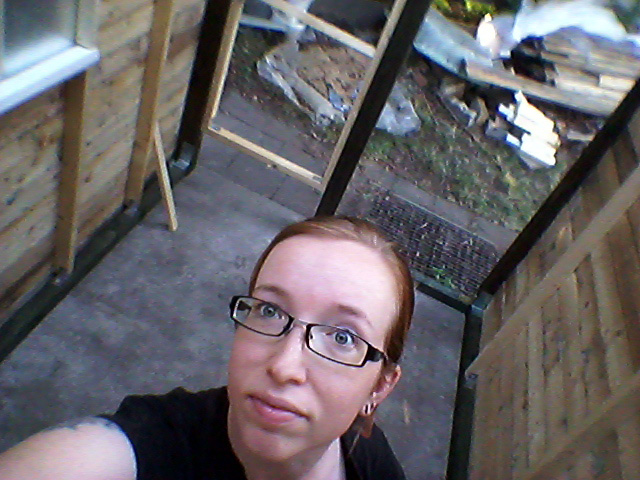
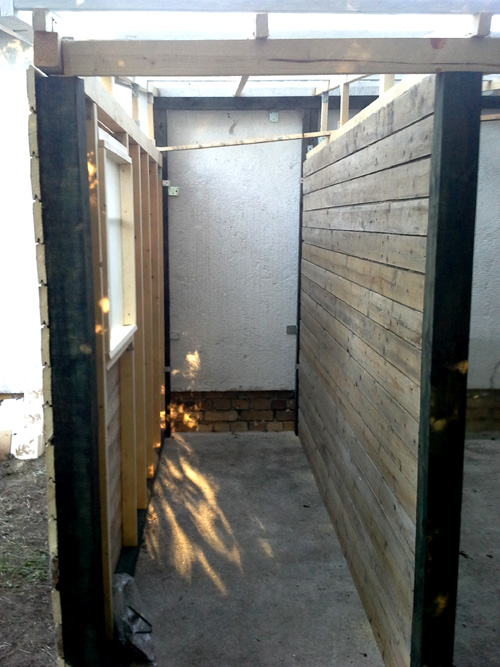
The workshop is almost as big as my room in my previous towerblock flatshare. Awesomepants. And I haven’t been this tanned since Mongolia 2006, spending so much time outdoors …
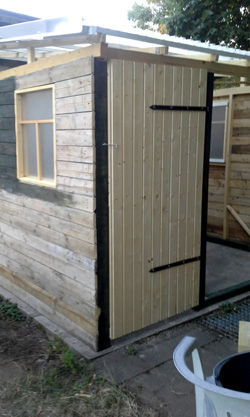
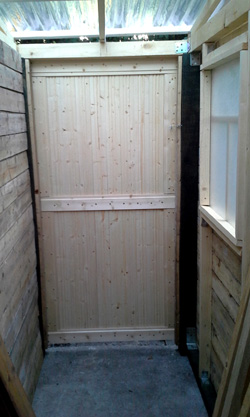
The first door. Later it started to sag, so I added diagonal stabilizers to it!
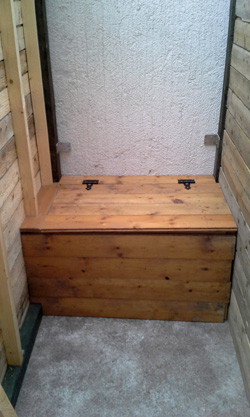

The toilet chest. The form fitted part by the wall was killing me, since my saw had gone blunt at this point. I installed a separating compost toilet and made a hole in the lid (with my Swiss army knife saw, lol, because it’s the narrowest saw I have).
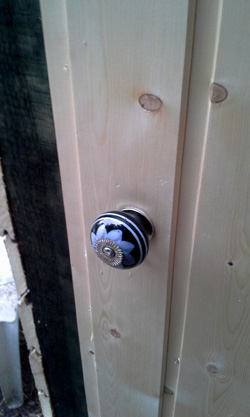
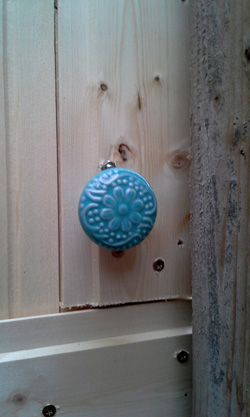
Doorknobs (cheap but pretty drawer knobs).
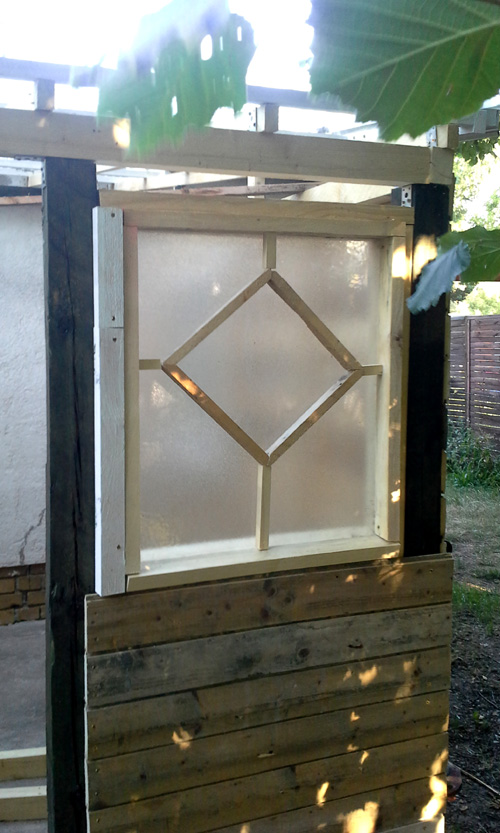
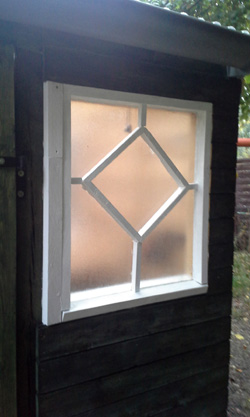
The third window is a special window :3
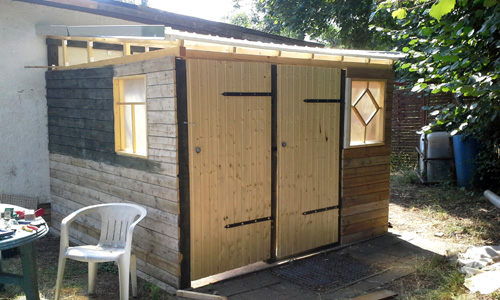
Finished the main part of the walls and both doors. I’d have put both upper hinges at the same height, but there are twig holes in the corner beams right there preventing it. :-/

Inside the workshop

Then it was about fucking time to replace the blade of my saw! Which had gone all blunt a while ago already. And I went to get my classic kataba (above in the photo) from my old garden, and got a new blade for that one as well. I should probably have done this a lot sooner, because with the new blade on my folding saw and the new, rougher kataba blade it was much easier to saw. But at this point I was almost done.
(Japanese saws are the best by the way V^(oo)^V)
Painted the first layer.
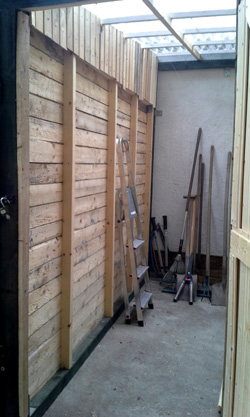

Then I put up the upper part of the walls, with finer lumber scraps from the stash, and leftover pieces from the doors. I also built a table in the workshop with an old kitchen counter top that was laying around. I’ll add shelves and hooks for the garden tools later.
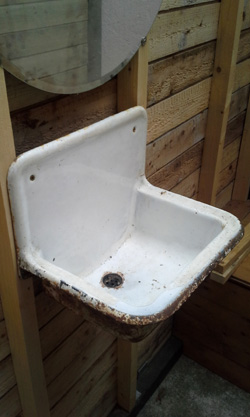
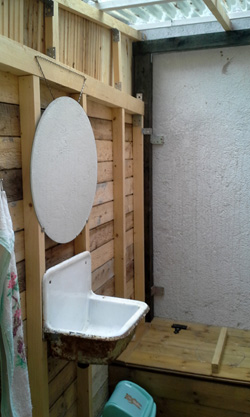
Then I put up the old enamel sink. Later I’ll add a drain, move the mirror to the other side, and install a рукомойник (amazing Russian technology, I’m so happy someone imports them to Germany so I can have one of my own!).
I redid the boards here on the upper part of the northeast wall several times, and they always ended up crooked, so I guess I don’t care …
Details from inside
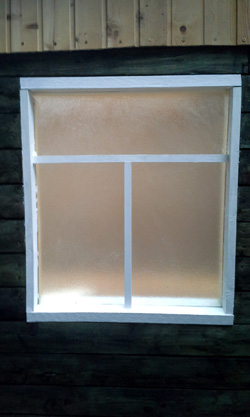
The window frames painted.
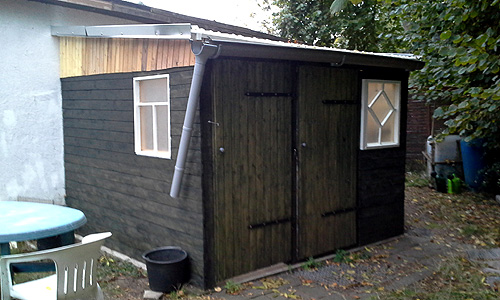
And a rainpipe! I will get a bigger rain barrel later (hence why the pipe is so short), and paint the upper parts of the wall (probably blue?). Since the windows are so small, I could perhaps add some kind of наличники (Russian style ornamental frames) to them … :3
There’s some minor things left to do, such as sealing the windows with silicone, but it’s pretty much finished. All in all I’m a bit dazed that I managed to build this fairly large and sturdy shed all on my own. But it’s not really complicated to build things, you mostly just need time and determination. And it’s very nice to have a whole building that you made yourself, exactly the way you wanted it. V^(oo)^V


